How to Add a cPanel User in WHM

This article will show you how to add a cPanel user in WHM.
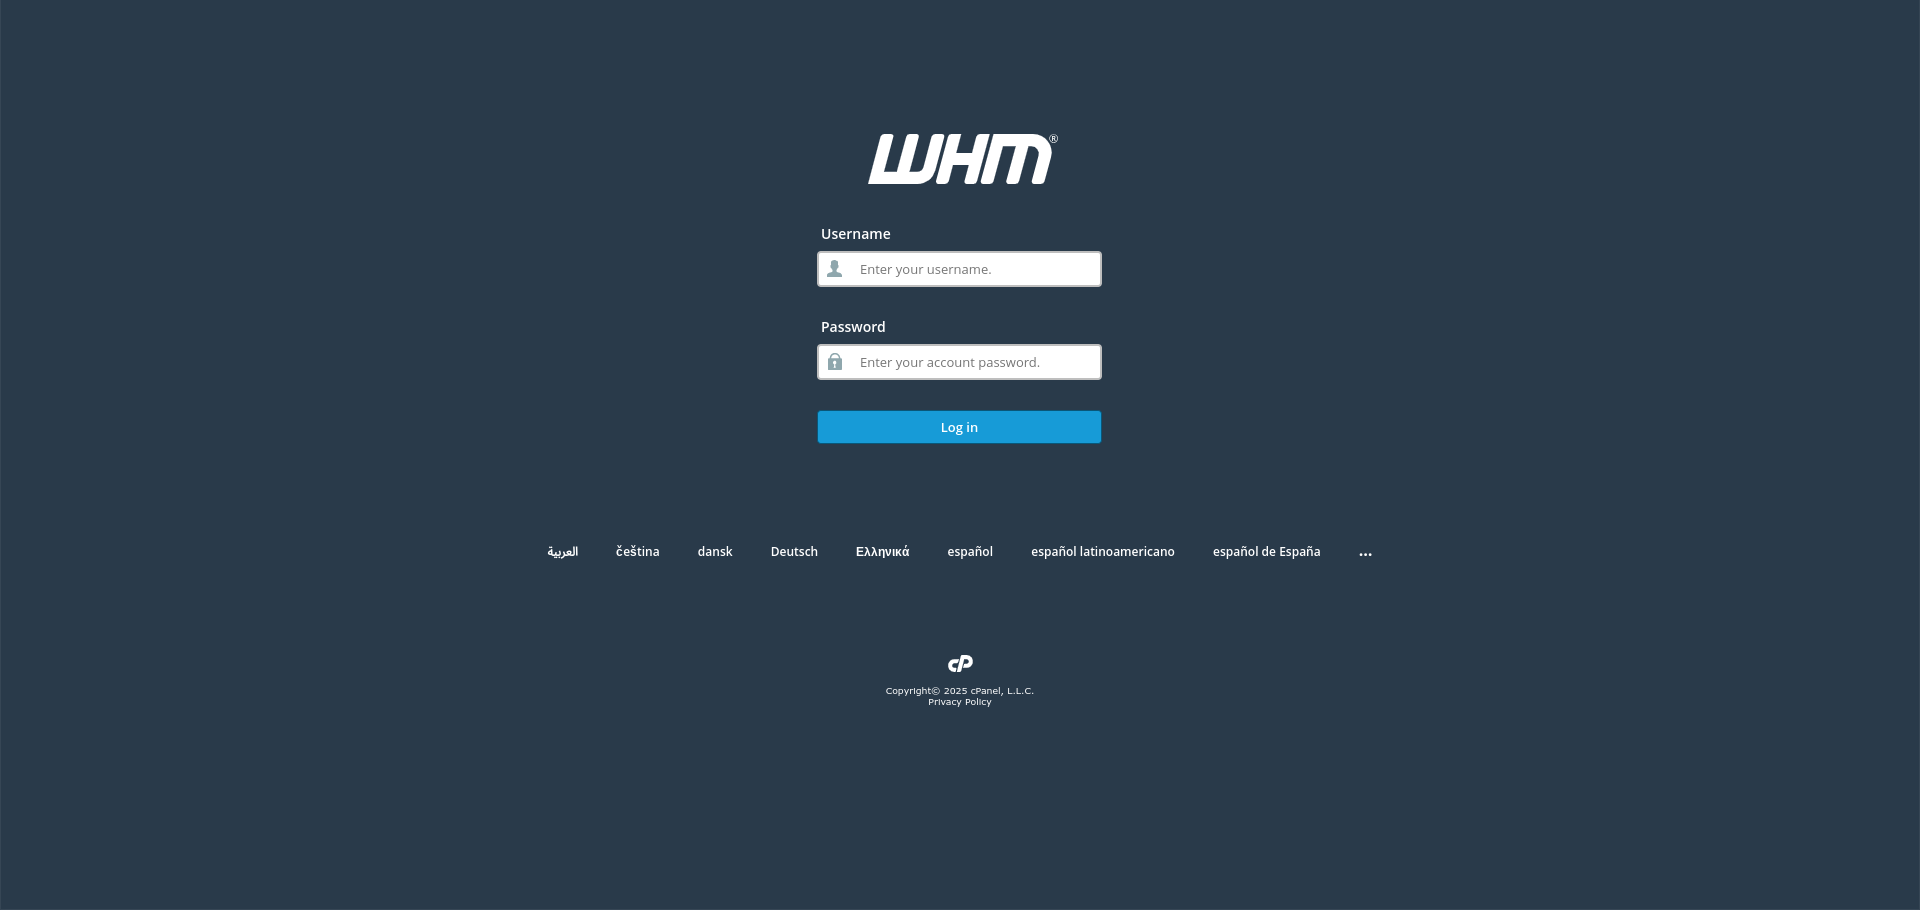
1. Log in to WHM
Use your root or reseller credentials to log in to the WHM control panel.
2. Navigate to the Create a New Account Section
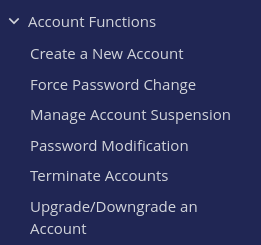
In the left-hand menu, locate and click on Create a New Account under the Account Functions category.
3. Enter Domain Information
- Domain: Enter the primary domain name for the new account.
- Username: Provide a unique username for the cPanel account (typically auto-populated based on the domain).
- Password: Set a strong password for the account, or use the password generator tool.
- Email: Enter a contact email address for the account owner.

4. Select a Package
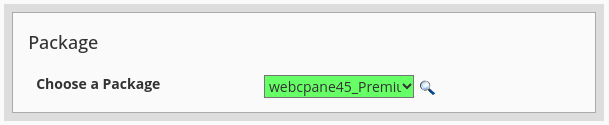
Under the Package section, choose an existing package from the Choose a Package dropdown menu to automatically apply its resource limits and settings to the new account.
5. Configure Settings
- Reseller Settings: Check Make this account a reseller if the user should have reseller privileges.
- DNS Settings: Choose whether to use the nameservers already configured or set custom ones.
- Mail Routing Settings: Select the appropriate mail routing option (Automatically Detect, Local Mail Exchanger, Backup Mail Exchanger, or Remote Mail Exchanger).

6. Create the Account
Once all details have been configured, click the Create button to add the new cPanel user.

Congratulations! You've successfully added a new cPanel user in your WHM control panel.